
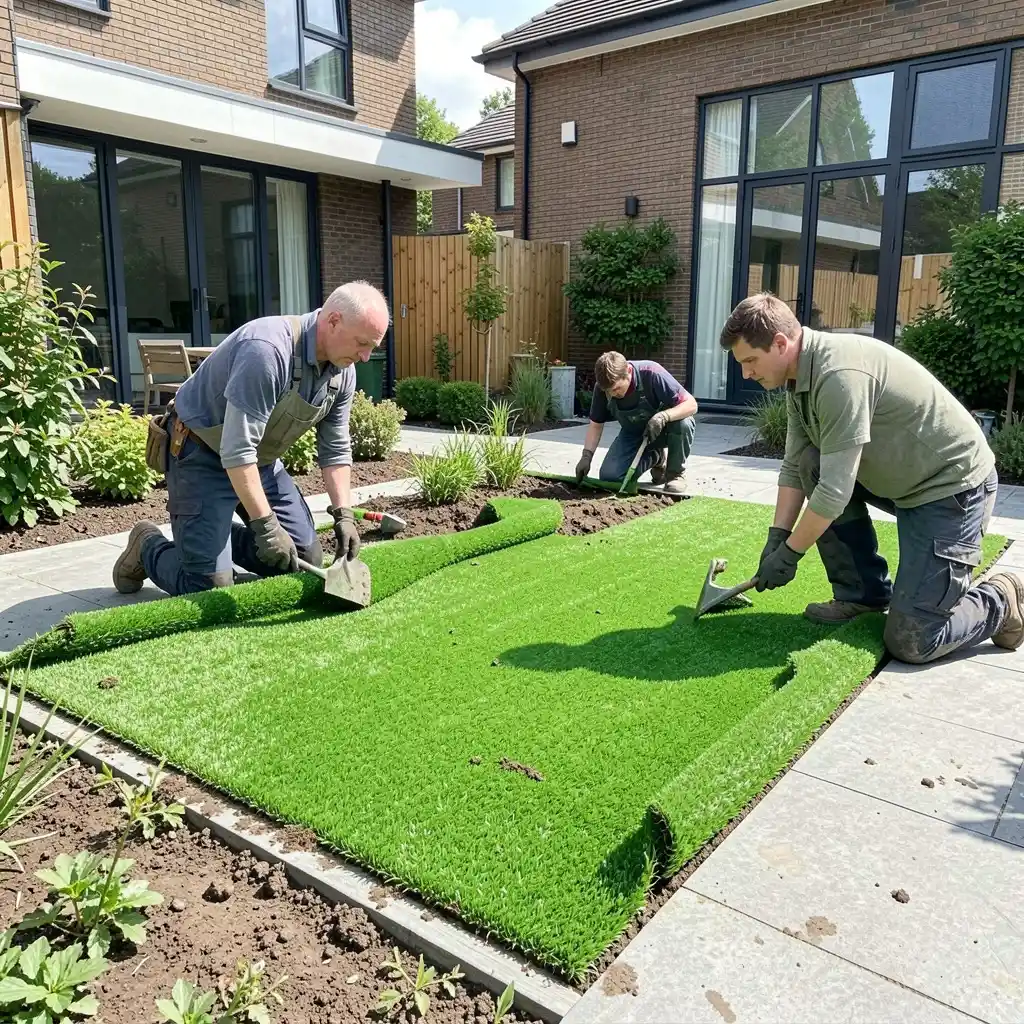
Artificial Grass for Old Garden Beds in Midrand
Many Midrand homeowners reach a point where a garden bed no longer earns its space. Maybe the plants died back. Maybe the bed traps water. Maybe you just want a cleaner, greener look without the upkeep. So the question comes up often: can you install artificial grass over an existing garden bed?
The short answer is yes. But the result only looks good and lasts long when you prepare the bed properly first. Skip steps like plant removal, soil correction, edging, or drainage, and you risk bumps, puddles, and a shorter lifespan for your turf. Below, we walk through what proper preparation involves. We also explain why it matters so much in Midrand’s soil and climate.
Why Garden Beds Need Special Preparation
A garden bed differs from a bare patch of lawn. Over the years, garden beds build up loose, organic-rich soil. They also hold root systems, and sometimes buried edging, stones, or irrigation pipes. All of that needs attention before artificial grass goes down.
Loose or organic-heavy soil compacts unevenly over time. As it settles, your artificial grass surface can dip, ripple, or develop soft spots. So the bed needs a firmer, more stable base than a normal lawn area typically requires.
Step 1: Removing Plants and Roots Completely
First, remove every plant, shrub, and root ball. This includes small groundcovers that seem harmless. Their root networks often run wider than they appear above ground. Leave roots behind, and they rot and decompose. This creates air pockets under the turf. Over time, this leads to sinking or uneven patches.
Larger shrubs and trees need extra attention. Their root systems can run deep. Full removal sometimes means digging out large root balls or grinding stumps below the planned base depth. Skipping this step causes many artificial lawns to fail early. So it pays to do it thoroughly the first time.
Step 2: Correcting and Preparing the Soil
Once the bed is clear, the real preparation begins with the soil. Garden beds often contain a mix of compost, mulch, and organic matter added over years to help plants grow. Unfortunately, this organic matter breaks down and shrinks over time. That’s exactly what you don’t want under artificial turf.
So we typically excavate the organic layer first. Then we replace it with a compacted, well-draining base. Depending on the site, this might involve topsoil blended with crushed stone. Or it might call for a straightforward stone base if the bed sits low and needs building up. Either way, the goal stays the same. We create a firm, stable, level surface that won’t shift once the grass goes down.
Not sure whether your bed’s soil needs correcting? Our team assesses this on-site as part of every instant lawn and artificial grass quote. That way, you know exactly what work lies ahead before we start.
Step 3: Installing Proper Edging
Edging plays a bigger role than most people expect. Without a solid edge, artificial grass can lift at the borders. It can also shift out of place or let soil creep back onto the surface after rain.
For garden beds specifically, edging separates the new turf area from any remaining planted sections nearby. Solid materials such as treated timber, composite boards, or steel strips hold the turf firmly in place. They also give the finished area a clean, defined line. This step matters even more around curved or irregular bed shapes. A poor edge shows up quickly on a curve.
Step 4: Getting Drainage Right
Drainage is where garden bed conversions often go wrong. It deserves careful attention. Garden beds were originally shaped to hold water for plant roots. Artificial grass needs the opposite. Water must move through and away quickly, or you end up with puddling, bad odours, and turf damage.
To fix this, we grade the compacted base with a gentle slope. That way, water always has somewhere to go. A layer of crushed stone or gravel beneath the turf also helps. It lets rainwater filter down into the ground instead of sitting on the surface. The RHS drainage guide backs up this principle for any garden project. Identify where the water needs to go before you build anything on top. General installation guidance from retailers like Lowe’s agrees. A weed barrier and proper base preparation prevent both drainage problems and weed growth later on.
For beds close to a house wall or boundary fence, we plan the slope carefully. Runoff should move away from structures, not toward them. This small detail protects your property long after installation.
Step 5: Long-Term Results You Can Expect
Handle the bed removal, soil correction, edging, and drainage properly, and you gain a low-maintenance, evergreen space. It holds up well through Midrand’s summer storms and dry winters. Because the base sits compacted and stable, the surface stays flat. It won’t sink or ripple with age.
You also gain back time. No more weeding, feeding, or replanting that bed every season. Depending on your goals, you might extend the artificial grass across the whole yard. Or you could keep a few well-prepared beds for potted plants alongside your new lawn. Either way, the surface stays level and drains well. It looks consistent for years when the groundwork gets done right from the start.
Get Your Garden Bed Assessed in Midrand
Every garden bed is different. The right approach depends on the plants you’re removing, the soil underneath, and how the bed sits relative to the rest of your yard. Our team handles this process from start to finish across Midrand and surrounding suburbs, including Saddlebrook and nearby areas.
Ready to turn a tired garden bed into a lush, low-maintenance lawn? Get in touch with Turf Company Midrand for a free, no-obligation site assessment.